Switching On:
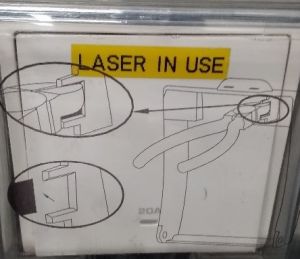
1. Turn on the “LASER IN USE” switch on the wall.
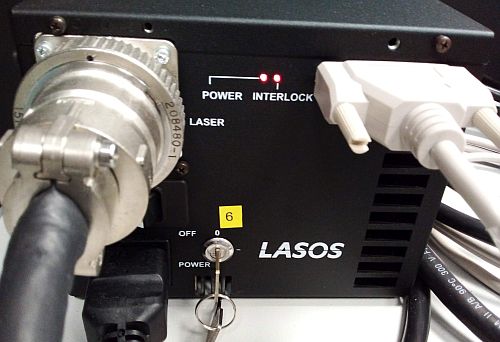
2. Follow the order of the labelled switches (check that 0, the compressor is on) from 1 to 3, number 4 is the mini PC, 5 is the Zeiss PC. The Argon ion laser (switches 6 and 7) is needed for laser lines 458 nm, 488 nm and 514 nm. Do not switch it on if you do not intend to use any of those lines. The epifluorescence lamp 8 is only for observing fluorescence by the eyepiece. Do not turn it on if you do not intend to use it.
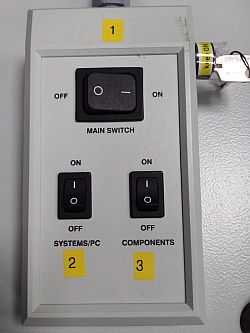
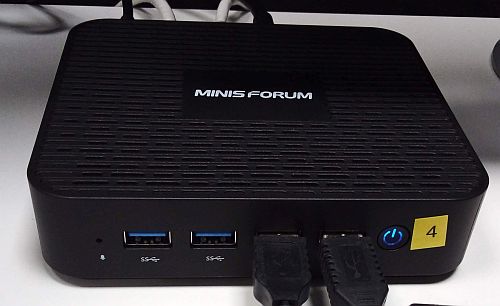
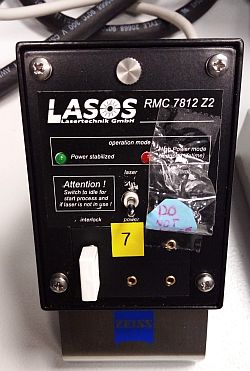
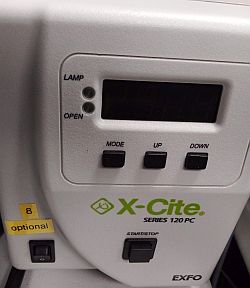
3. Log in with your PPMS account on the mini PC and log in as Zeiss User on the Zeiss PC. Start ZEN Black Edition software.
| Notes on the epifluorescence lamp: |
|
| Notes on the Argon ion laser: |
|
Switching Off:
1. Make sure you have saved your data and turn off ZEN software.
2. Move the objective to the escape position and remove your sample.
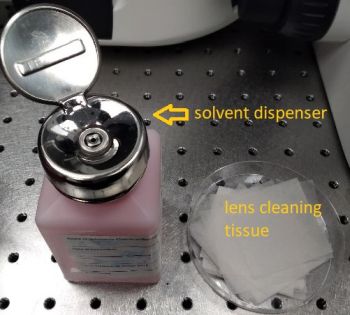
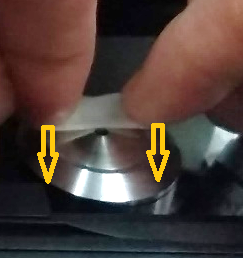
3. If you have used an immersion objective, wipe it clean. Use the lens cleaning tissue. For cleaning oil immersion, moisten the tissue at the solvent dispenser. Always wipe the objective only once, in one direction. If this is not sufficient, repeat with a new piece of tissue. Never reuse the tissue.
4. Use the mini PC to transfer your data to OMERO or shared network drive. Shut down the computers. Switch off the mini PC first!
5. Turn off the numbered switches in the reverse order, starting from 8 or 7. Important: After turning off the Argon ion laser key 6, wait for a few minutes until the laser fan has stopped (audible) before proceeding to the switches 3 – 1.
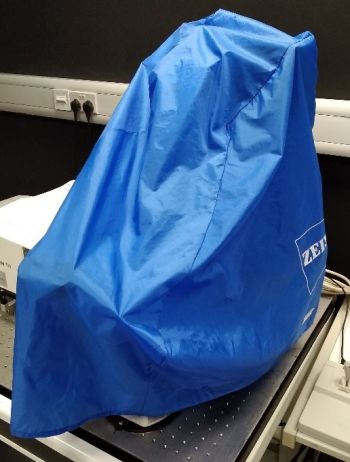
6. Cover the microscope with the dust cover.
7. Turn off the “LASER IN USE” switch on the wall.
8. Make sure you leave the microscope room clean. Spray with 70% ethanol and wipe any surfaces that could have been in contact with biological material. Do not leave any samples or any other belongings behind.
Finding sample using the eyepiece:
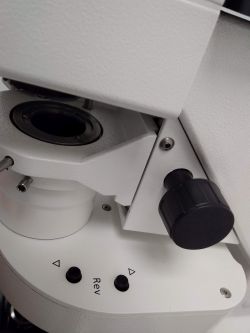
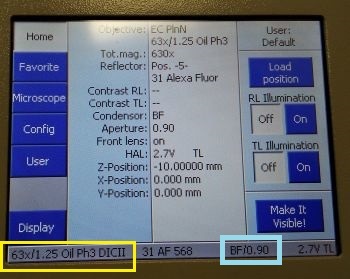
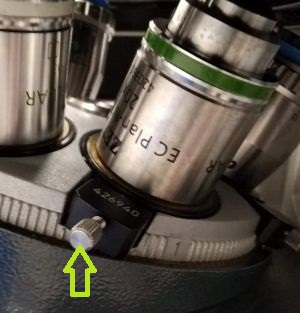
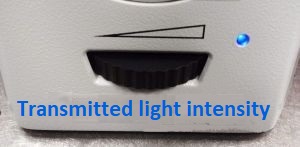
Locate tab in ZEN software is used to set up observation by the eyepiece. To observe the sample in transmitted light, select the appropriate observation mode (1). The transmitted lamp will turn on (2) and the shutter in front of the lamp will open; you can control its power in the software or using the knob at the base of the microscope body. The objective can be selected in the software (3) or using the touchscreen panel. See an important note on objective selection.
| Notes on objectives selection: |
|
For observation of fluorescence, select the appropriate fluorescence channel (4) according to the fluorescent labelling of your sample; this will determine the filter cube that will be inserted into the path (5). The fluorescence lamp power can be controlled in the software (6), provided it has been switched on.
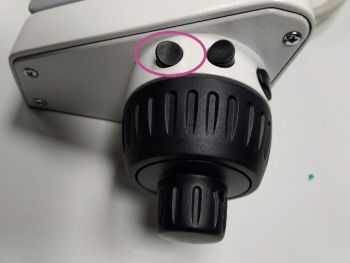
If using an immersion objective, apply a drop of immersion on the objective. Place your sample on the stage and focus it using the focusing knobs (course and fine) on the side of the touchscreen panel or the microscope body. Find the location of interest by moving the stage. The button on the top of the joystick lever switches between fast and slow stage movement.
Confocal scanning - setting up channels:
To set up confocal scanning, we will move to Acquisition tab.
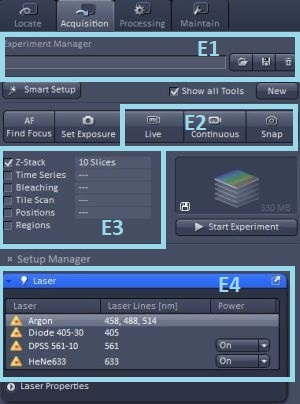
We can load an existing experiment setting using the Experiment Manager (E1) drop-down menu or reuse the settings with which a saved image has been acquired by pressing the Reuse button in the Dimensions tab under the open image. In case no suitable settings from the past are available, we can configure the settings from scratch as described here. You can also watch a ZEISS video tutorial on setting up light path (external link).
1. Setting up laser excitation
We can switch on the lasers we want to use in the Laser panel (E4). The 405 nm diode laser because of its fast response is switched on automatically only when needed (during image acquisition only). The Argon laser is switched on manually as a part of the switching-on procedure. The software receives no feedback whether the laser is on or off, thus it will give no error message if you select a line of the Argon laser in your channel settings without having turned the laser on. However no excitation light would reach the sample.
The desired laser line(s) need to be selected also in the Channels panel (C1, 561 nm is selected in the example). The slider below the check boxes allows setting the laser power (in % of the full power); refer to the table of the actual laser powers at sample plane.
2. Setting up dichroic mirrors
Next we select the dichroic mirrors to suit the lasers in the Imaging Setup panel (I1). There are two laser ports, each using a different dichroic. One, labelled Invisible Light, is used only by the 405 nm laser. The other port, Visible Light, by the remaining lasers. Select a suitable dichroic from the drop-down menu. There are multi-band dichroics that work several laser lines (e.g. the one in the example for 488 nm, 561 nm and 633 nm), together with the 405 nm laser coming by the Invisible Light port, we can have up to 4 laser lines reaching the sample simultaneously.
Not all combinations of laser lines have a dichroic mirror available. There is for example no dichroic for 514 nm and 633 nm simulatenously. Those lasers cannot be sent to the sample simultaneously, can be used only sequentially using the feature of Tracks.
Important: If you are not using one of the ports (e.g. not using 405 nm laser), select the option "Plate" for that port. A glass plate of the same thickness as the mirrors is inserted to the optical path to maintain the beam path identical as when a dichroic mirror is there. Selecting option "None" would change the path of the beam as it would not undergo the shift caused by refraction on air/glass interfaces.
3. Setting up detection channels
Then we set up the detectors for each channel in the Imaging Setup panel in Channel mode (I0). There are two types of photomultiplier tubes - standard multi-alkali PMTs (Ch1 and Ch2) and more sensitive GaAsP PMTs (ChS). While Ch1 and Ch2 are each a single PMT, ChS (S stands for "spectral") is an array of 32 detectors covering a fixed spectral range from 410 nm to 695 nm (8.9 nm band/detector in array). The array of 32 detectors can be divided into several non-overlapping detection channels. New channels are added by pressing the "+" sign (I2). 4 channels are shown in the example. Spectra of fluorophores from the database in ZEN (I3) can be displayed and used as a guideline for selecting the spectral ranges of individual detection channels. Lookup tables (colours) can be defined for each channel (I4).
ChS has the advantage of higher sensitivity, making it the recommended detector choice. The standard PMTs Ch1 and Ch2 have the possibility to detect beyond the spectral range accessible by ChS on both the short wavelength side (not very useful when the shortest excitation laser is 405 nm) and long wavelength side (up to 740 nm for NIR emitting dyes).
A transmitted light PMT can be also selected (I5), which detects the laser light that has passed through the sample. It can be then used to create a brightfield or DIC (depending on the setting of the condenser) image of the sample. This image comes at no additional cost in terms of acquisition time or exposure of the sample to light and provides information complementary to the fluorescence channels. For optimal transmitted light images quality, the condenser needs to be aligned for Koehler illumination.
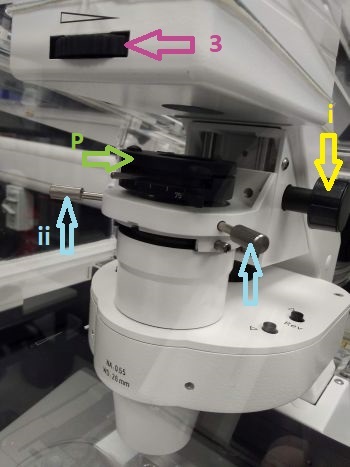
| Setting up DIC: |
|
Checking the "Reflection" checkbox (I6)
removes laser blocking filters from the detection path to allow
detecting reflected laser light rather than fluorescence. The detection
channels need to be set to contain the laser line wavelength.
The detector gain is set in the Channels panel (C2). Gains in the range 500 - 800 V are typically needed for fluorescence, lower values (100 - 300 V usually) are sufficient for transmitted light. Digital gain is just a multiplicative factor and as such does not affect the image quality (signal-to-noise ratio) unlike the real gain. Setting to values higher than 1 only increases the risk of exceeding the dynamic range (bit depth) of the digital image. The elements of the spectral detector ChS do not have independent gain, thus the same value of gain will apply to all channels using the detector array.
4. Setting up pinhole size
Pinhole size is set in Channels panel (C3). The usual setting is 1 AU (smaller pinhole size results in a significant loss of signal, while lager sizes compromise optical sectioning. Note that Airy units are relative to emission wavelength, thus the actual pinhole size depends on detection channels setting. The approximate section thickness is shown below the slider.
5. Setting up scanning
We move to Acquisition Mode panel now. We need to define the scanning speed (A1), the size of the scanned area (Zoom) (A2) and sampling of the image (Frame Size - into how many pixels will the scanned image be divided) (A3).
Zoom (A2) is what defines the scanned area as well as the effective magnification of the confocal image. The smallest zoom factor is smaller than 1 (the largest possible scanned area; consider zoom factor 1 as the smallest recommended zoom (largest recommended area) in terms of maximising image uniformity and minimising aberrations. The actual size of the scanned area (Image Size) in μm is displayed together with the pixel size (the scan size divided by the number of pixels).
If you want to zoom to a particular feature which is not necessarily in the centre of the field of view, you can use the Crop button in the Dimensions tab under the image, which will allow you to define a custom scanned area.
The pixel size thus depends on the Zoom as well as on the Frame Size (A3). When too large (too few pixels), they limit the resolution of the image (pixelated image). On the other hand too high number of pixels (too small pixels) will either increase the acquisition time or reduce the pixel dwell time (compromising signal-to-noise ratio). The optimal (Nyquist) sampling is such that the pixel is slightly smaller than half of the theoretical optical resolution limit (diffraction limited). You can set it automatically by pressing "Optimal". Do not forget to optimise the Frame Size every time you change Zoom.
Pixel Dwell time and Scan Time (A1) are determined by scanning speed and Frame Size. Slower scanning increases Pixel Dwell and therefore the amount of signal collected in each pixel. For live samples is may be advisable to avoid very slow scanning (prolonged continuous exposure of the same area in the sample to laser light), but rather to increase the effective time per pixel by repeatedly scanning each line or the whole frame (A4).
Other setting (A5) available
in this panel include the bit depth of the image and direction
of scanning (mono- or bi-directional). Scan Time can be
reduced twice by using bi-directional scanning
(collecting data when the beam moves from left to right as well as from
right to left). Scan artefacts (odd and even lines are shifted with
respect to each other) may appear in his case. They can be
corrected by adjusting CorrX and CorrY; this is an topic recommended
only for adventurous users.
6. Scanning an image
We are now set to scan a multi-channel image by pressing either Live, Continuous or Snap (E2). The difference is that Live, being intended for a fast preview (e.g. during focusing or stage movement) uses high scanning speed, 512 x 512 pixels frame and no line or frame averaging, regardless of what you set in Acquisition Mode panel. Continuous, on the other hand, continuously scans using the full settings, while Snap scans a single frame (using the full settings).
The image is displayed in the main window. The display of the image can be controlled in the panels below it and along its left-hand side. The left-hand side panel allows toggling between overlay of channels (2D) and split view. Dimensions tab allow selecting which channels are displayed (the magenta channel is off in the example), Graphics panel allows adding annotations to the image (e.g. a scalebar). The image histogram for all channels is also shown.
